FRANKENCAMERA
Fitting digital camera components into an analog rangefinder.
THE MAKING OF FRANKENCAMERA
Design, DIY, Engineering, Modelling, PhotographyINTRODUCTION
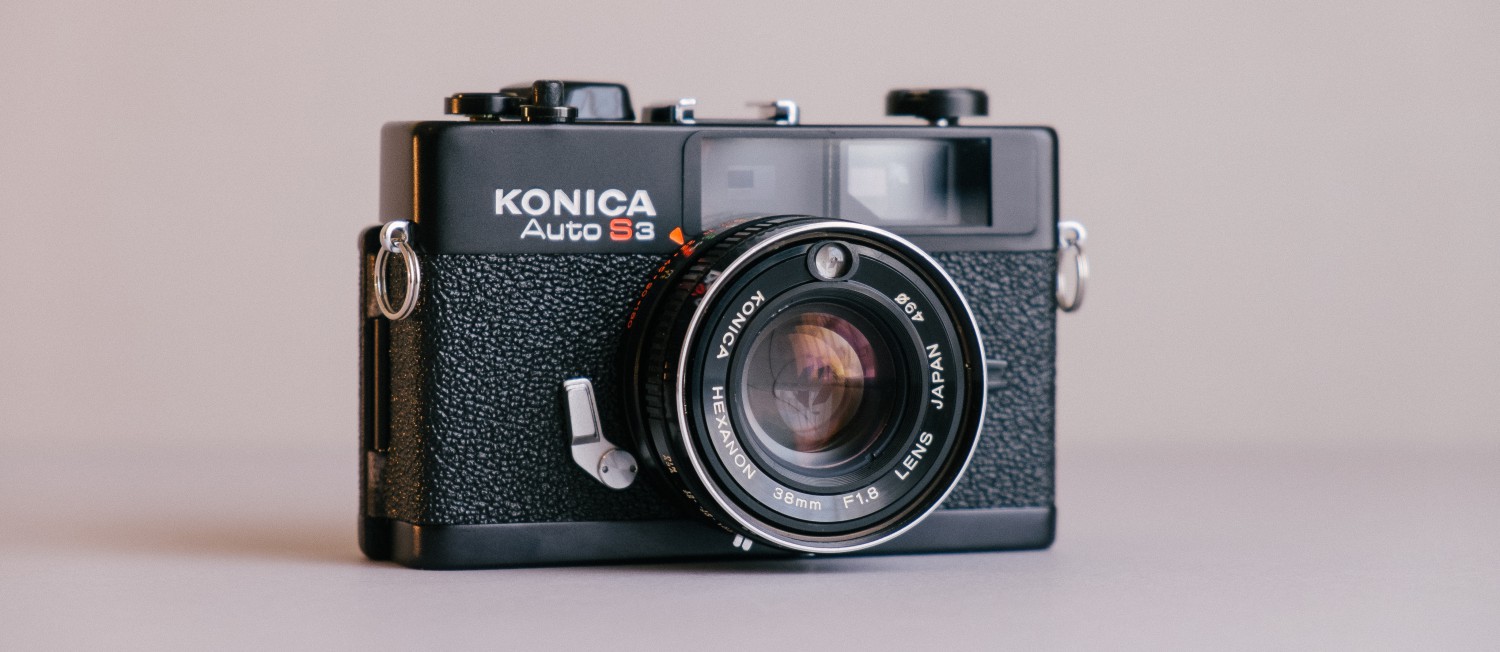
About a year ago I was awarded a generous amount of money from the Arkwright scholarship fund with which I decided to take a good old film camera and ‘digitise it’ using components taken out of the smallest digital camera I could find with a reasonably sized sensor, the Sony NEX-5. The analog camera I chose was the Konica Auto S3 rangefinder because it has a stellar fixed 38mm f1.8 lens with an unobtrusive internal leaf shutter. The viewfinder is very clear and being a rangefinder is easily adjustable for use with a different focal plane. A rangefinder mechanism allows the camera to be small (no large mirror) and won’t get in the way of the sensor which has a protruding AA filter on the front. Unfortunately the camera doesn’t have a built in diopter to adjust for glasses wearers but I managed to cut an old glasses lens of mine to fit into the viewfinder as a diopter adjustment.
PLANNING
To start I dismantled a NEX-5 camera and set about trying to determine what components were necessary for the camera to function. Many of the expected components were required, the circuit board, sensor, SD card slot, battery connector. Unfortunately the camera also requires the motor module for the shutter to be attached or it shows a ‘camera error’ screen. This meant I needed to include the motor and three adjoining cogs in my already crowded design.

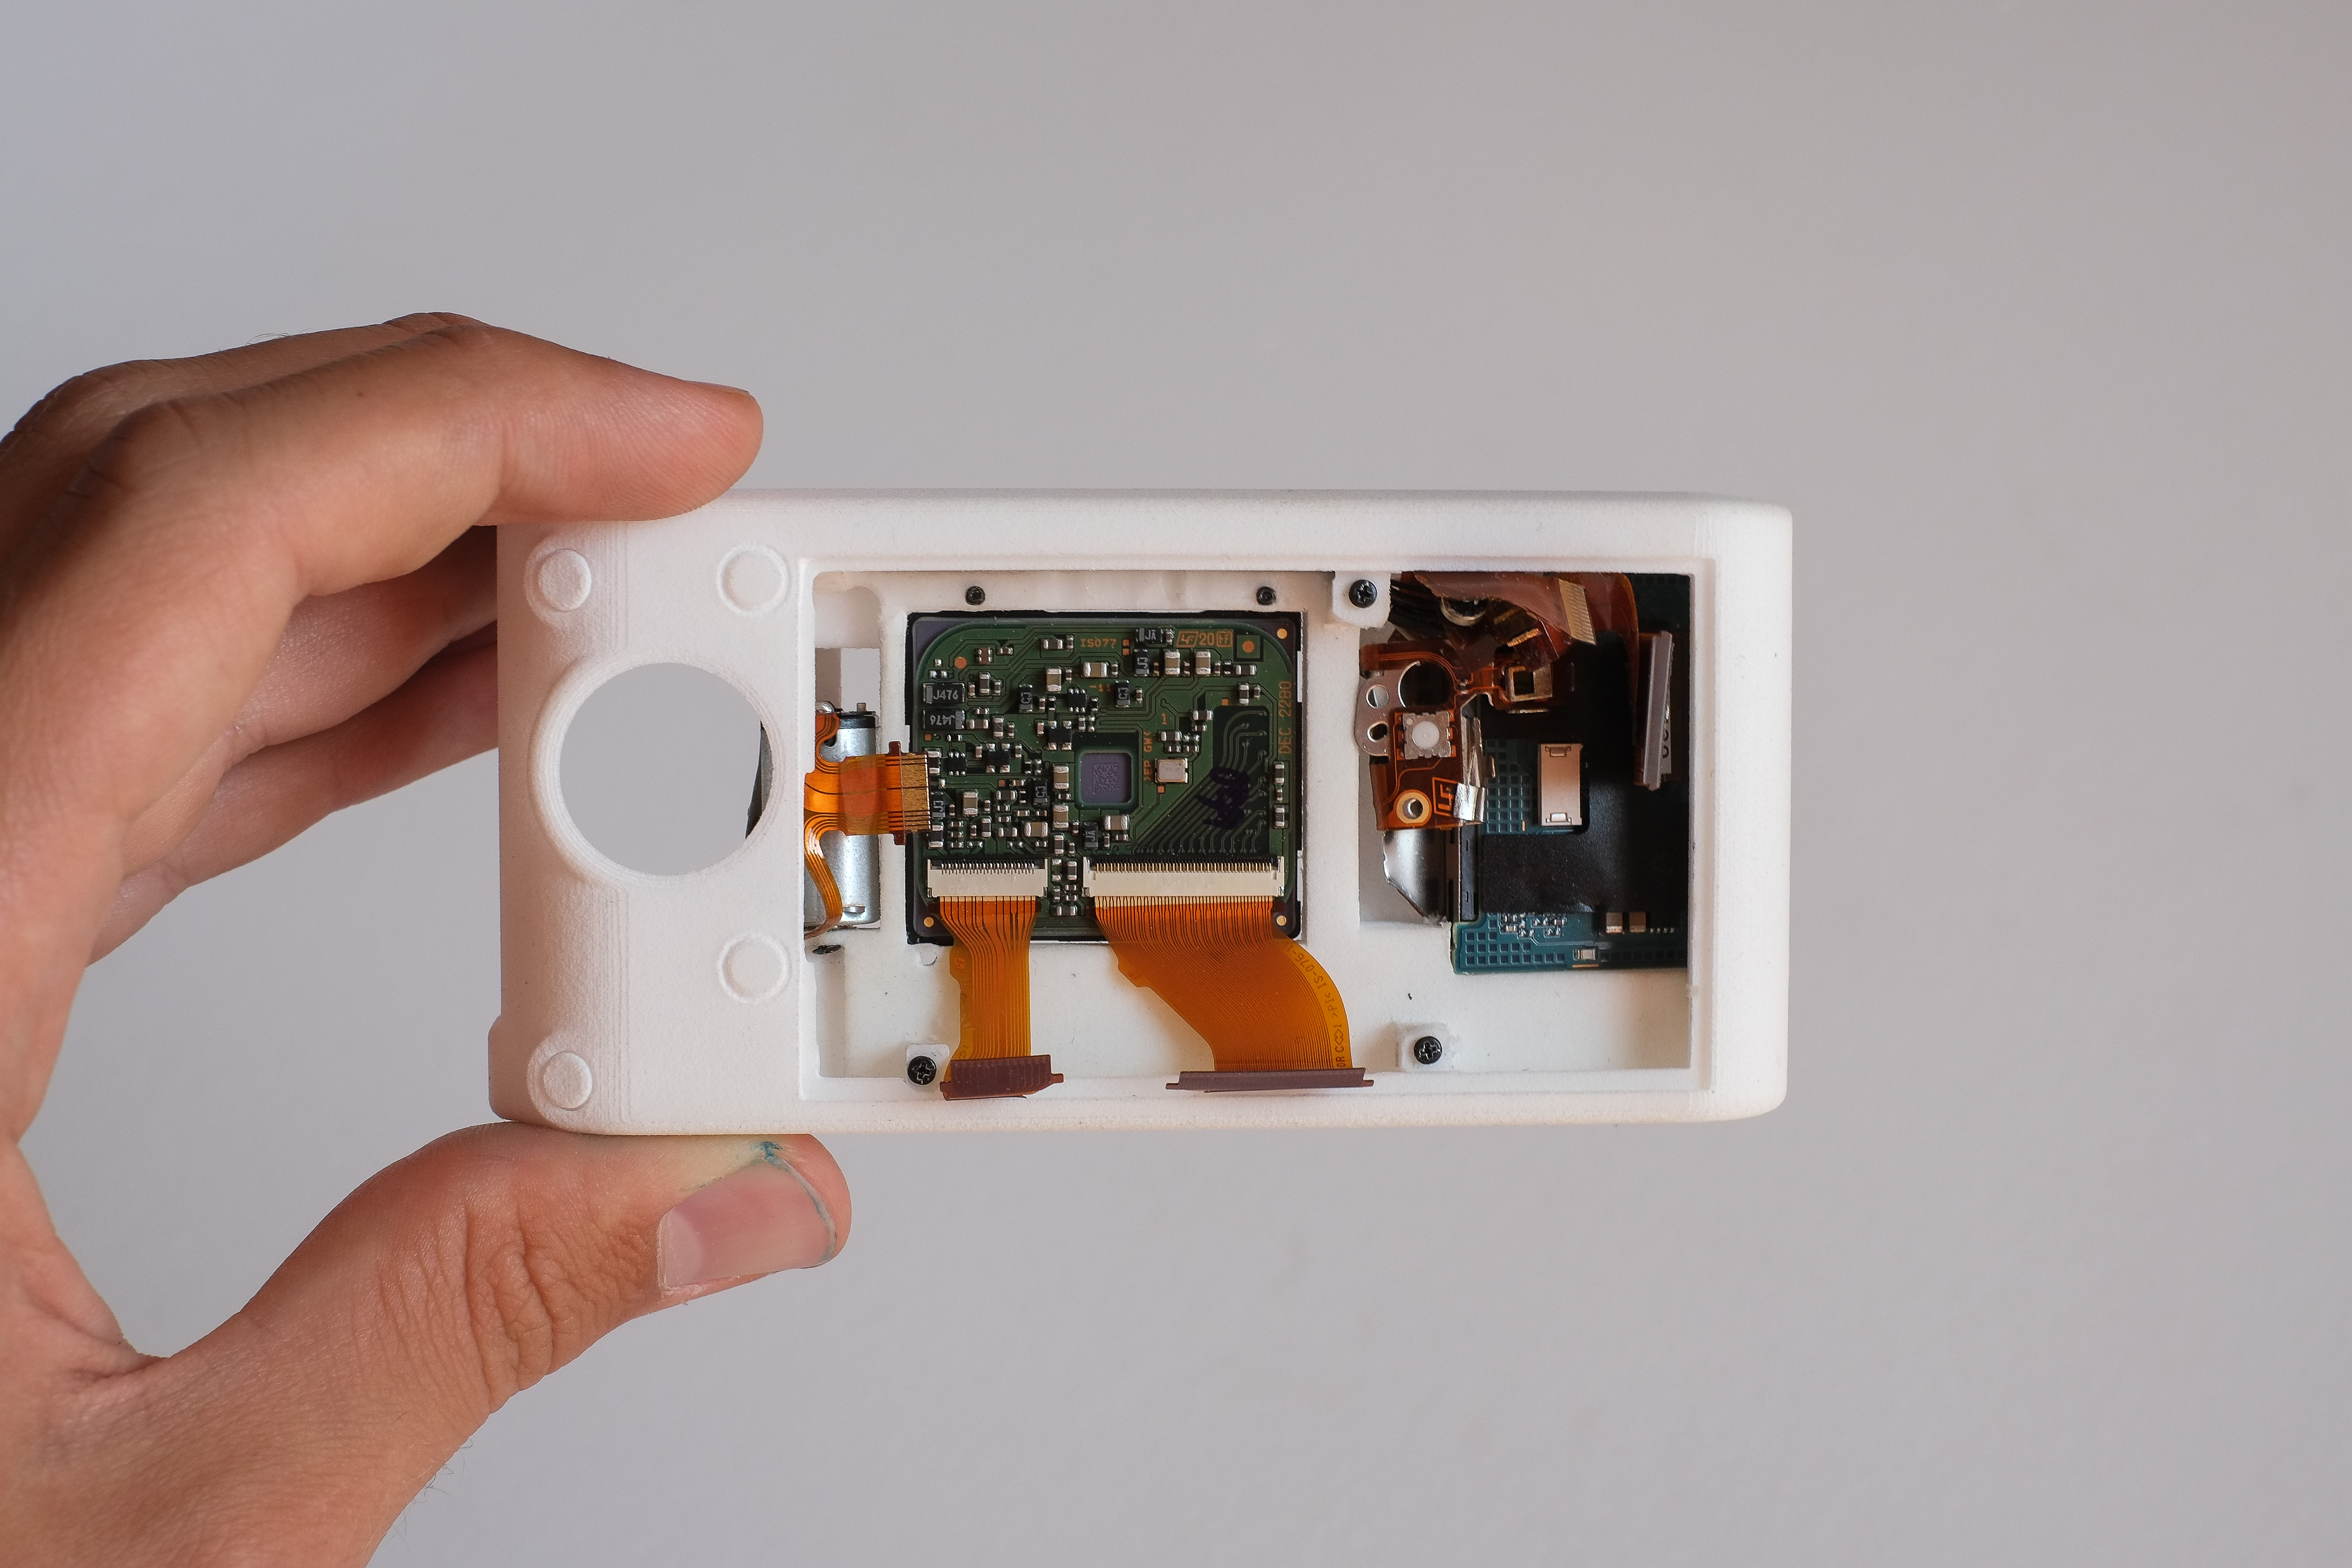
The rewired layout of the digital componenst

The cogs and motor that had to be included with cog cover attached to the motor
DESIGN
Next I needed to decide how to house the digital components and attach them to the film camera. My school had recently acquired a 3-D printer so I started designing a CAD file which would house these components using Solidworks and a pair of vernier calipers. I decided to replace the original back of the camera with a completely 3-D printed part, which is shaped to mate with the camera perfectly and to be hinged at one end with a clasp at the other to work with the original locking mechanism. I designed it in two parts, the bottom part holding the SD card slot, the sensor, the motor, cogs and battery. The top part holds the screen and buttons, and the main circuit-board is held between the two parts. In my final design there were also small covers for the cog assembly and to support the buttons.

My final CAD design shown from different angles
I also designed a replacement an ON/OFF mechanism in my final design which requires the film rewind wheel to be pushed down for the camera to turn on. This also held the design firmly in place. I also designed a replacement trigger which could house a miniature electronic switch which would be pressed as the trigger was being pressed down and released afterwards. This activates the digital sensor for the duration of the trigger being pressed (the digital camera being on the BULB setting), during which the film camera shutter is activated causing the sensor to be exposed as film would be.

The (unsoldered) replacement trigger with micro switch in place in the camera
WIRING
Most of the components could be placed roughly in their original positions and so could be connected via the original ribbon connectors but I moved the battery and the buttons to the left so the connections needed to be extended by wires. This proved difficult when soldering the wires for the buttons as there are 8 wires in a very small space and soldering onto a thin easily melted printed circuit.

Soldering the buttons
PRINTING
I first tried printing my design at school but the quality wasn’t high enough for such detailed work, so I sent my design to a 3-D printing company in London which used the incredible SLS printing method to create a strong, accurate and flexible print in nylon.

Shot of my first print
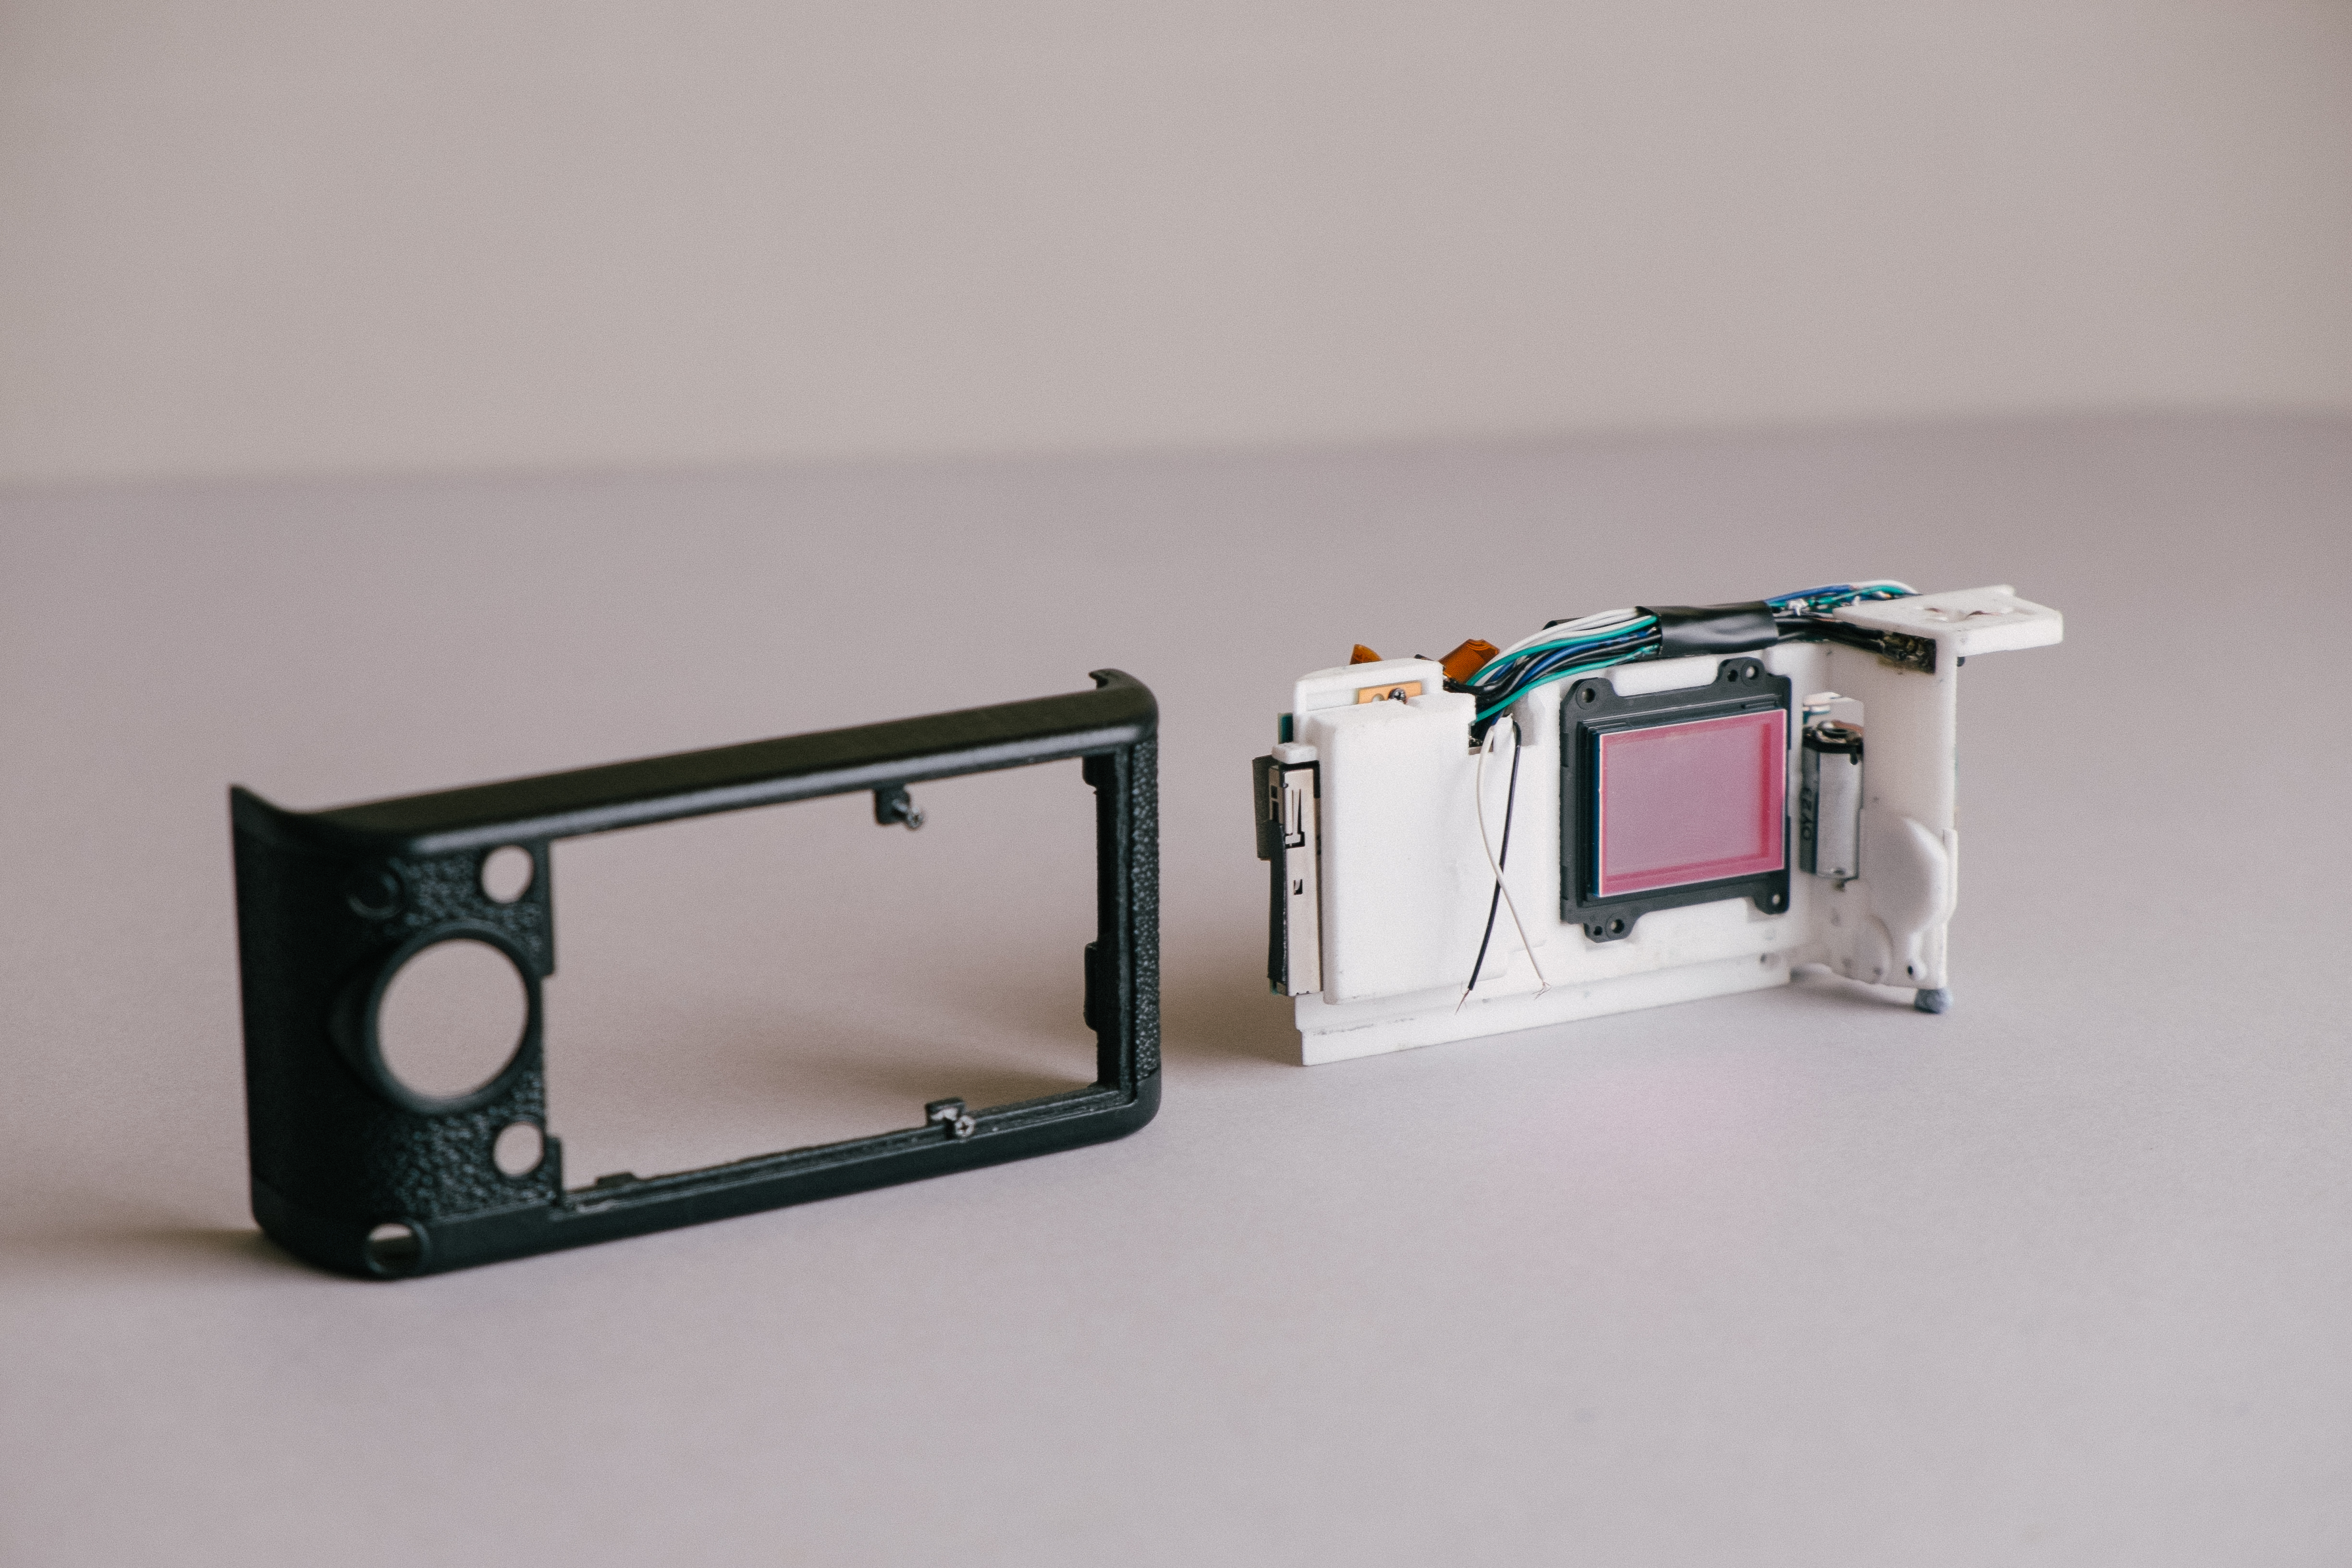
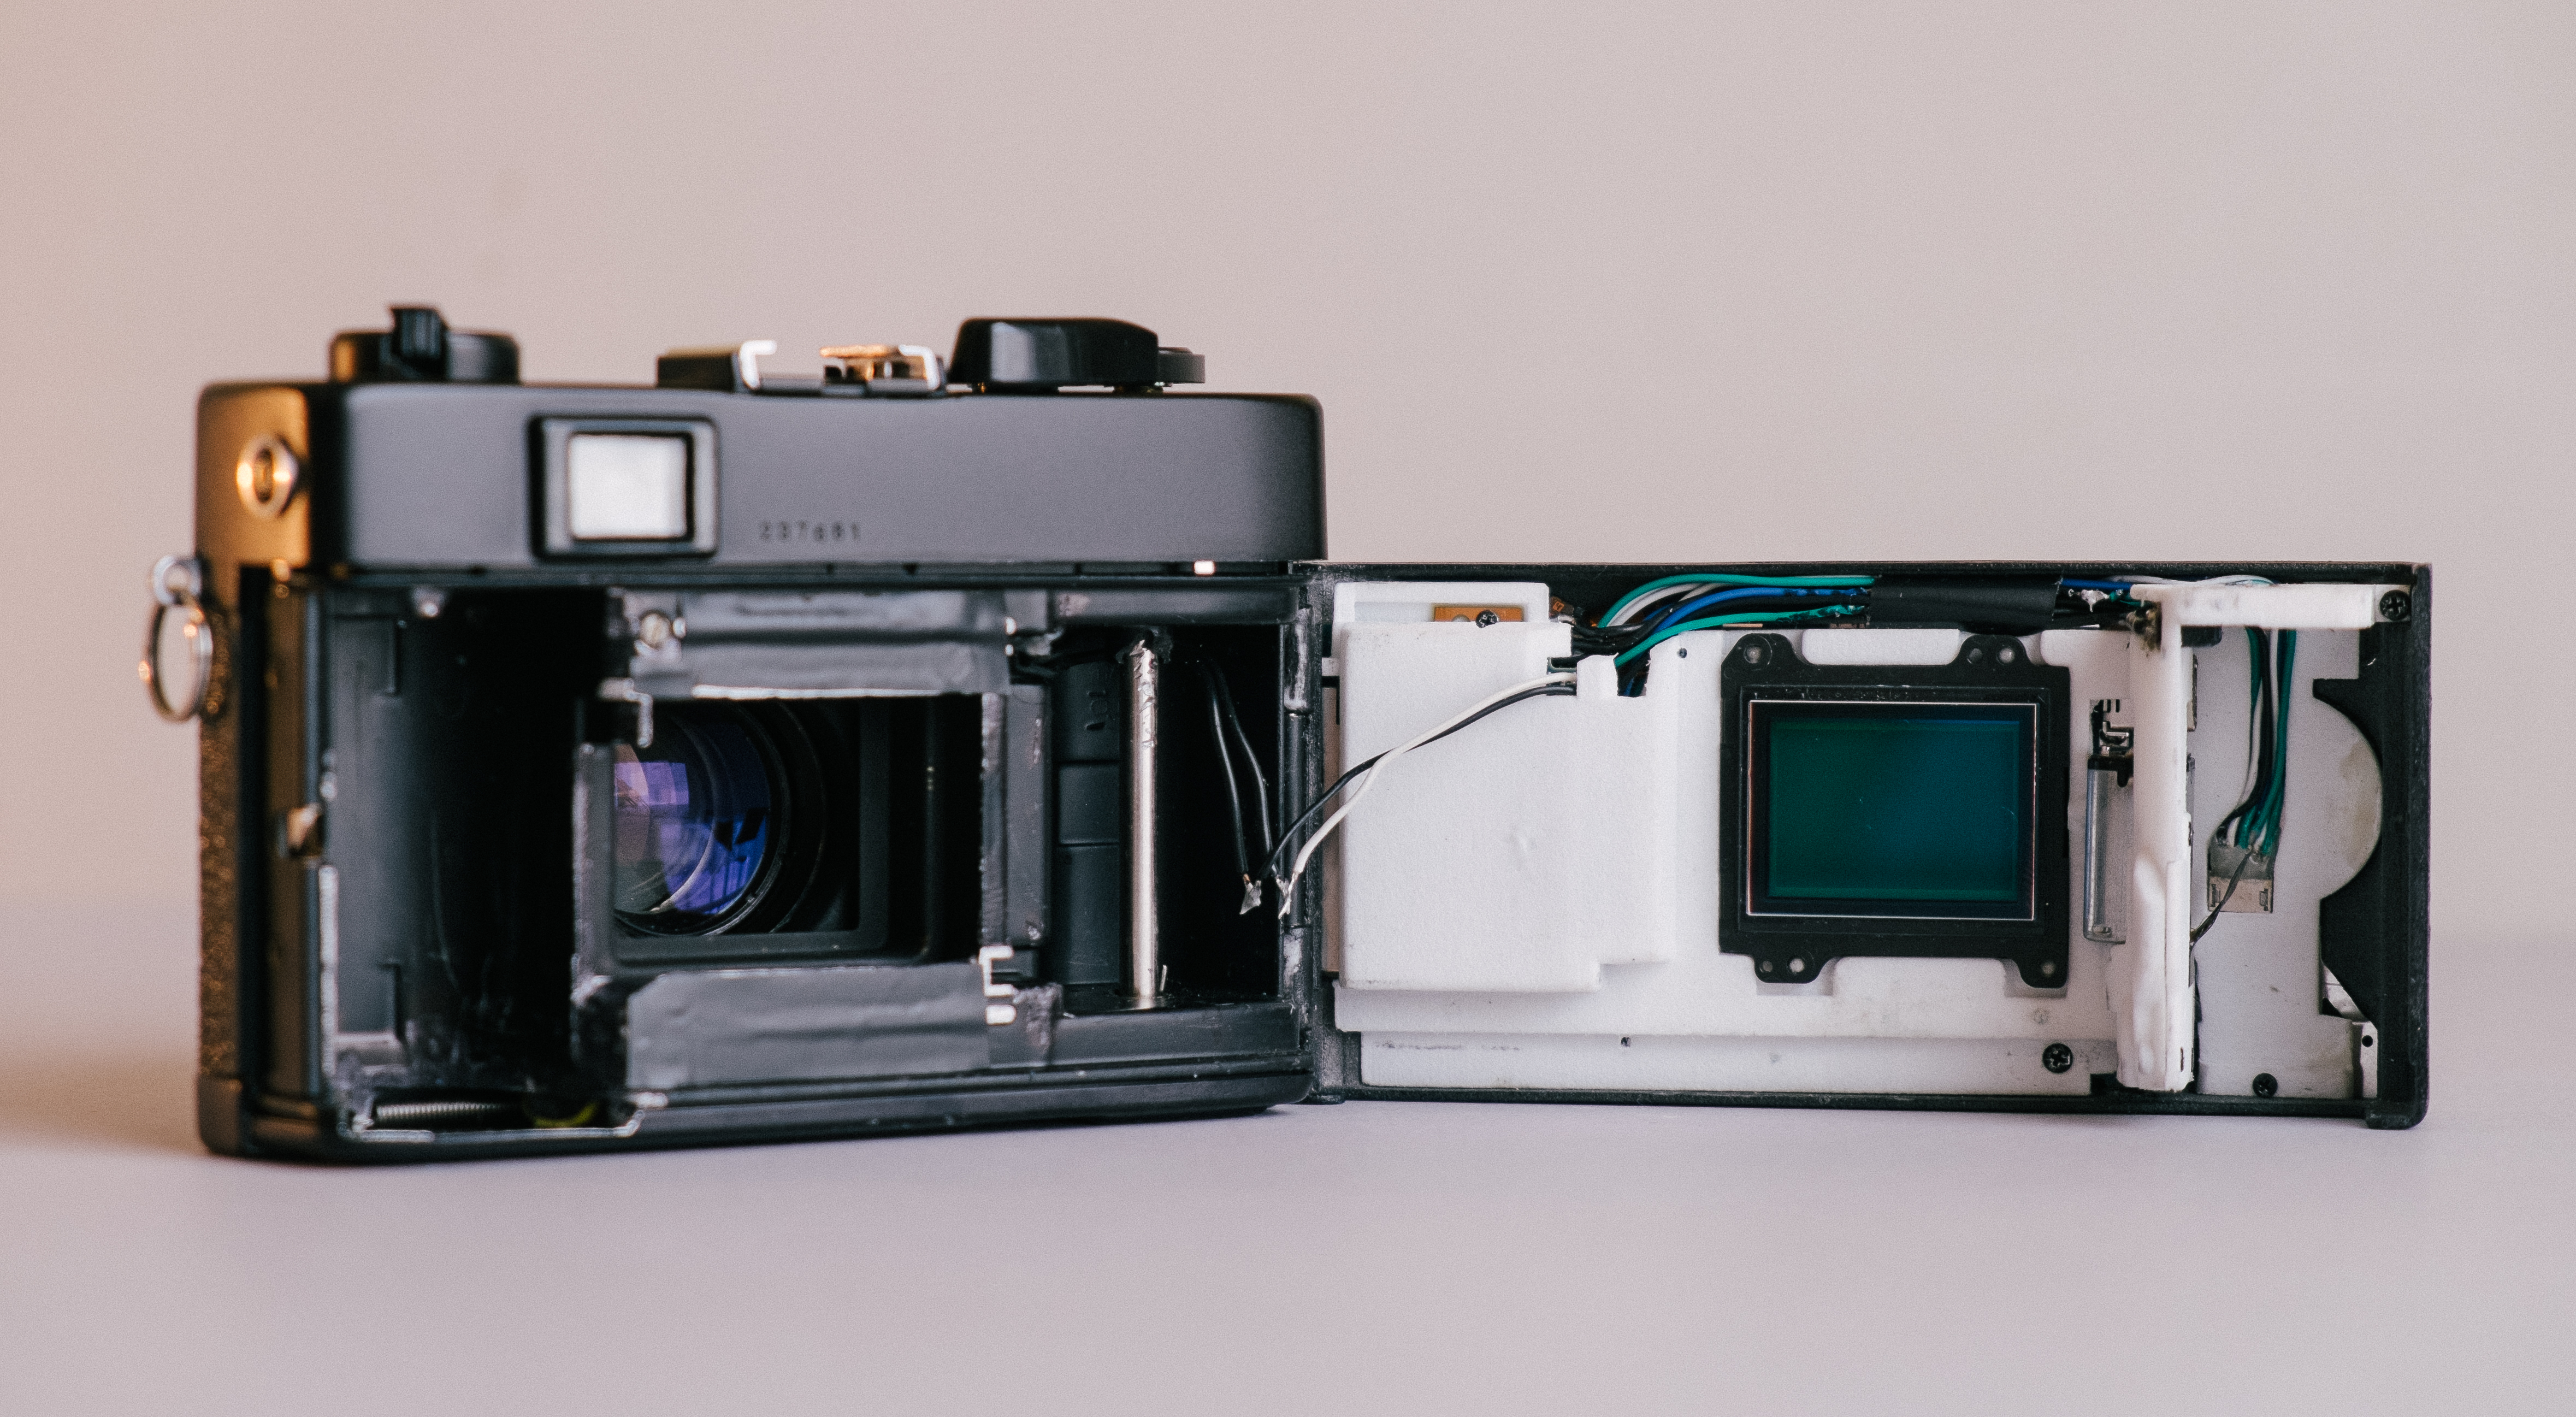
I was impressed with the quality of the first print and it was close to a final design but had some problems that couldn’t be fixed without a reprint so I redesigned it and printed it again. The result was perfect so I applied some cosmetic changes, cutting some spare leatherette to fit and painting it black. Finally I connected it to the adapted Konica, from which I removed some material to make space.

Shot of my second print


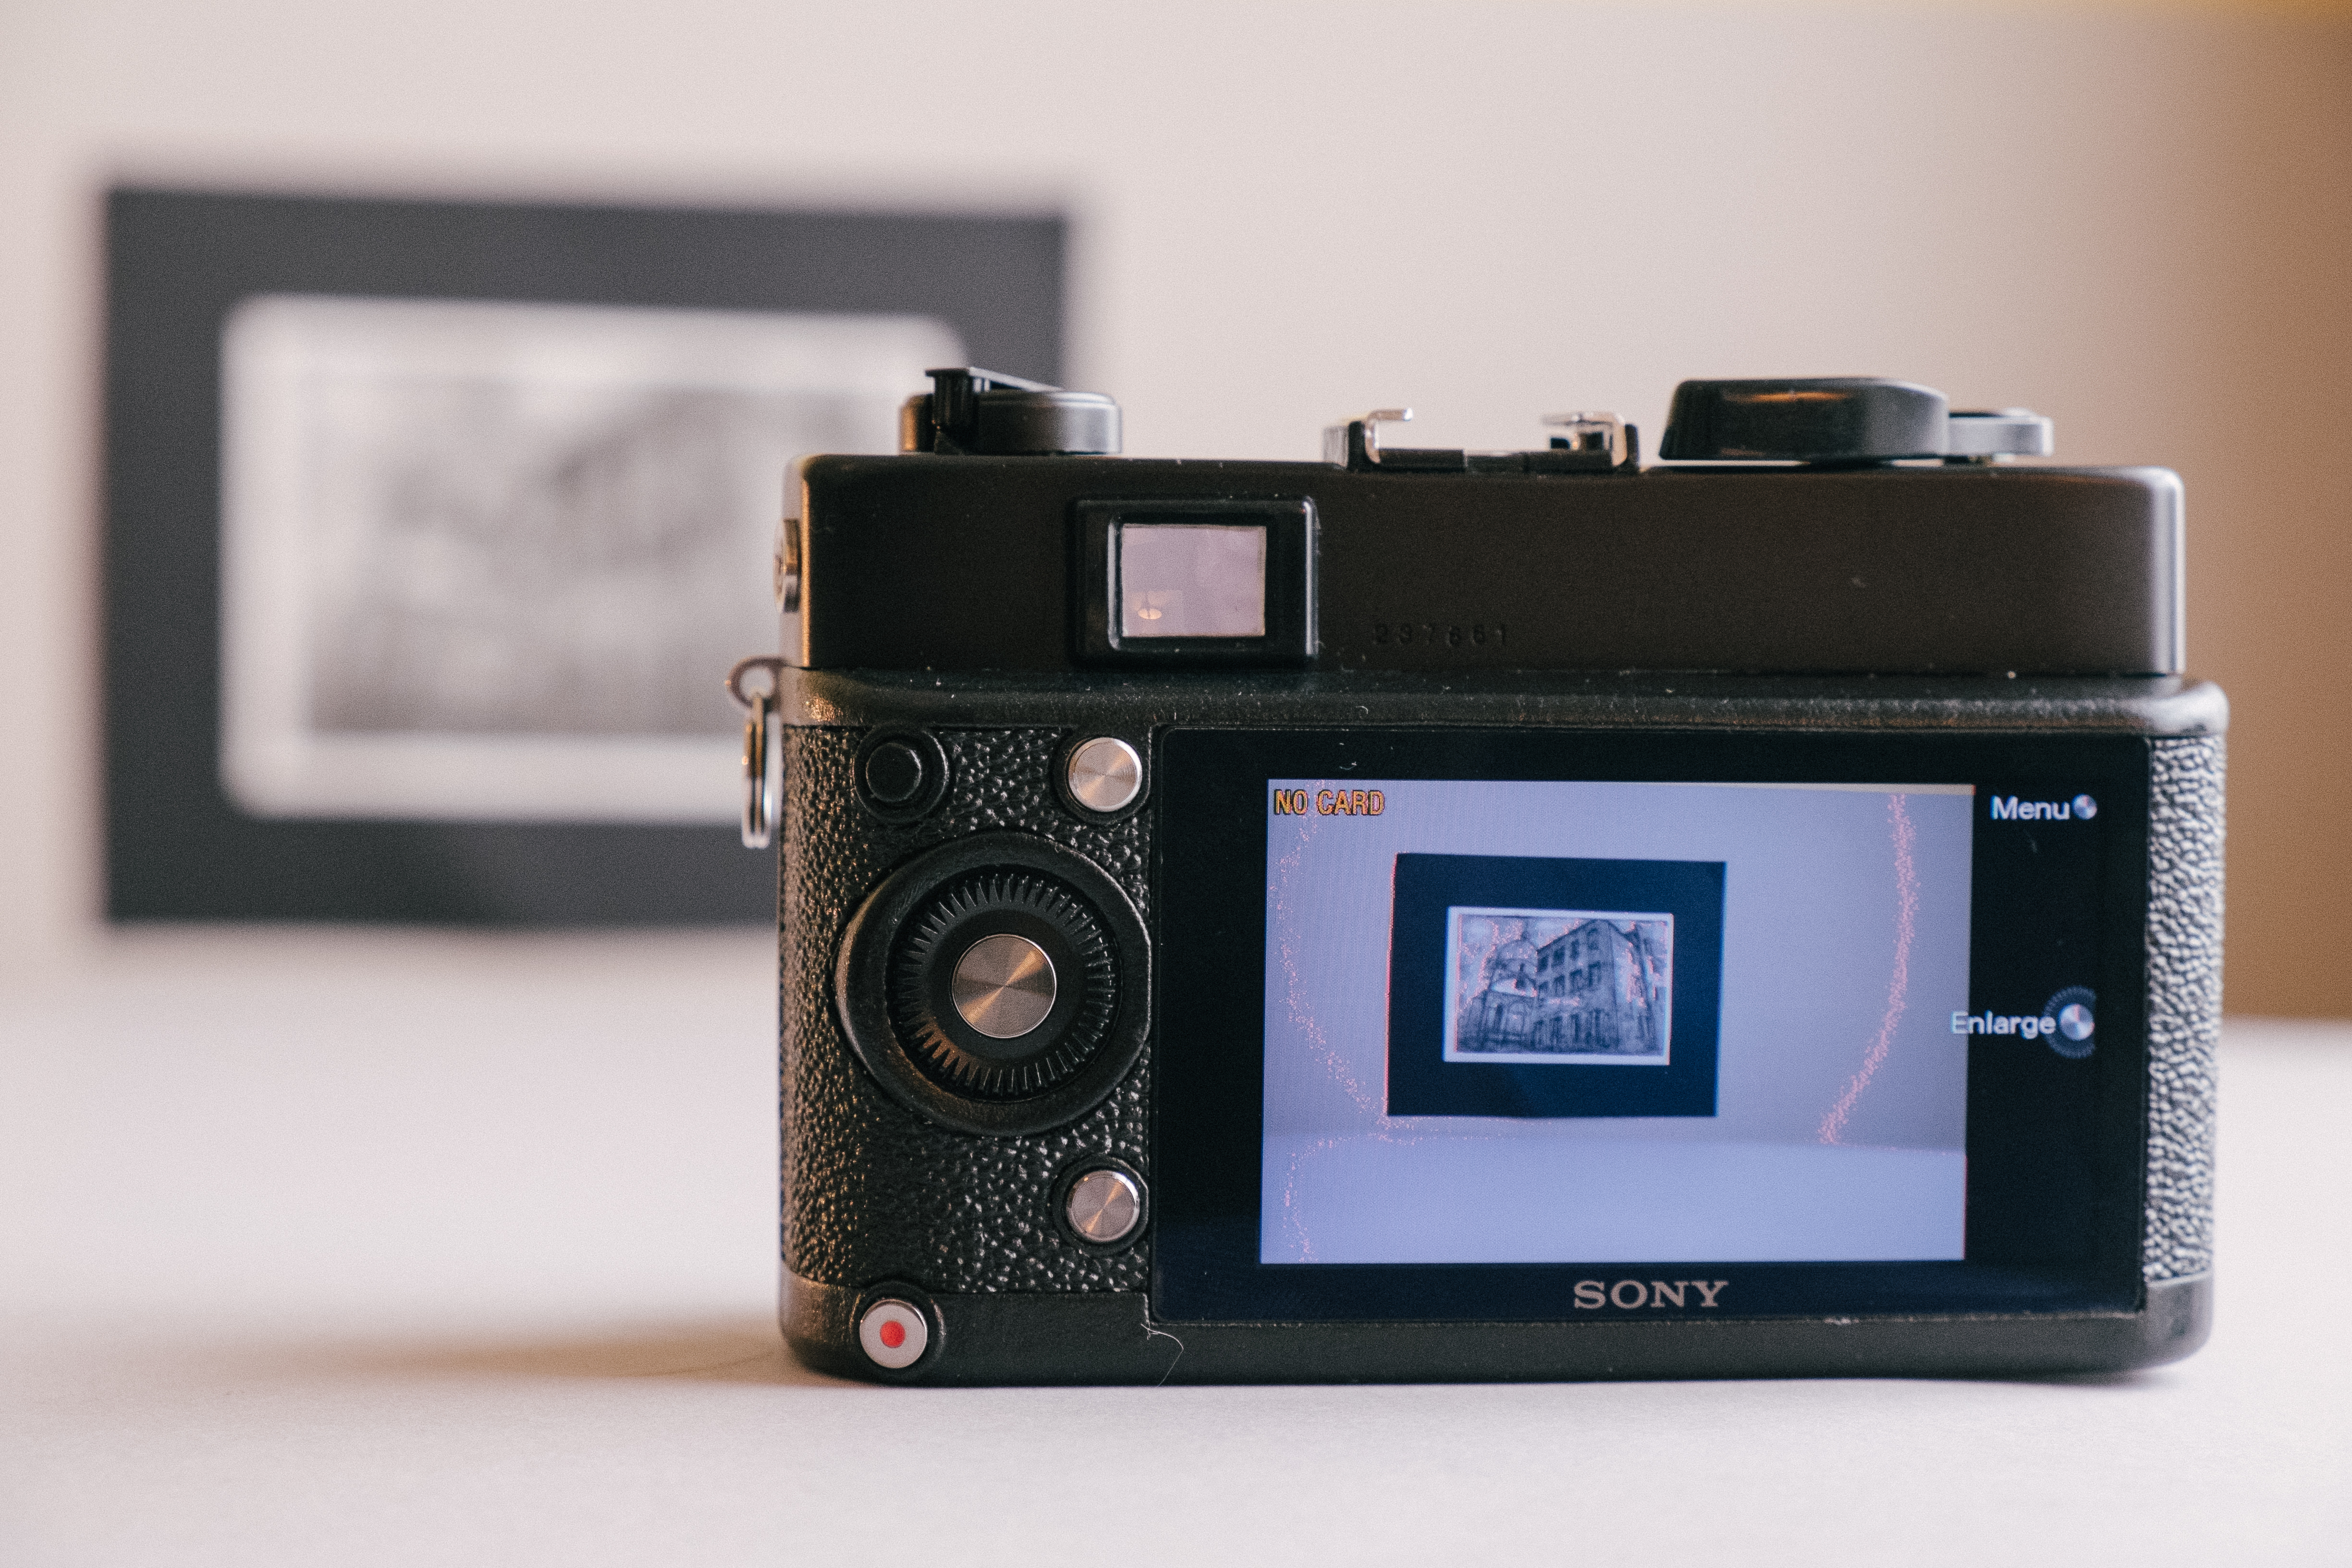
IT’S ALIVE!
After I had finished all of the assembling, I calibrated the lens to focus to infinity using the camera’s live view, and then calibrated the viewfinder to focus accurately.
VIDEOS
These videos show the operation of the camera.
EXAMPLE SHOTS
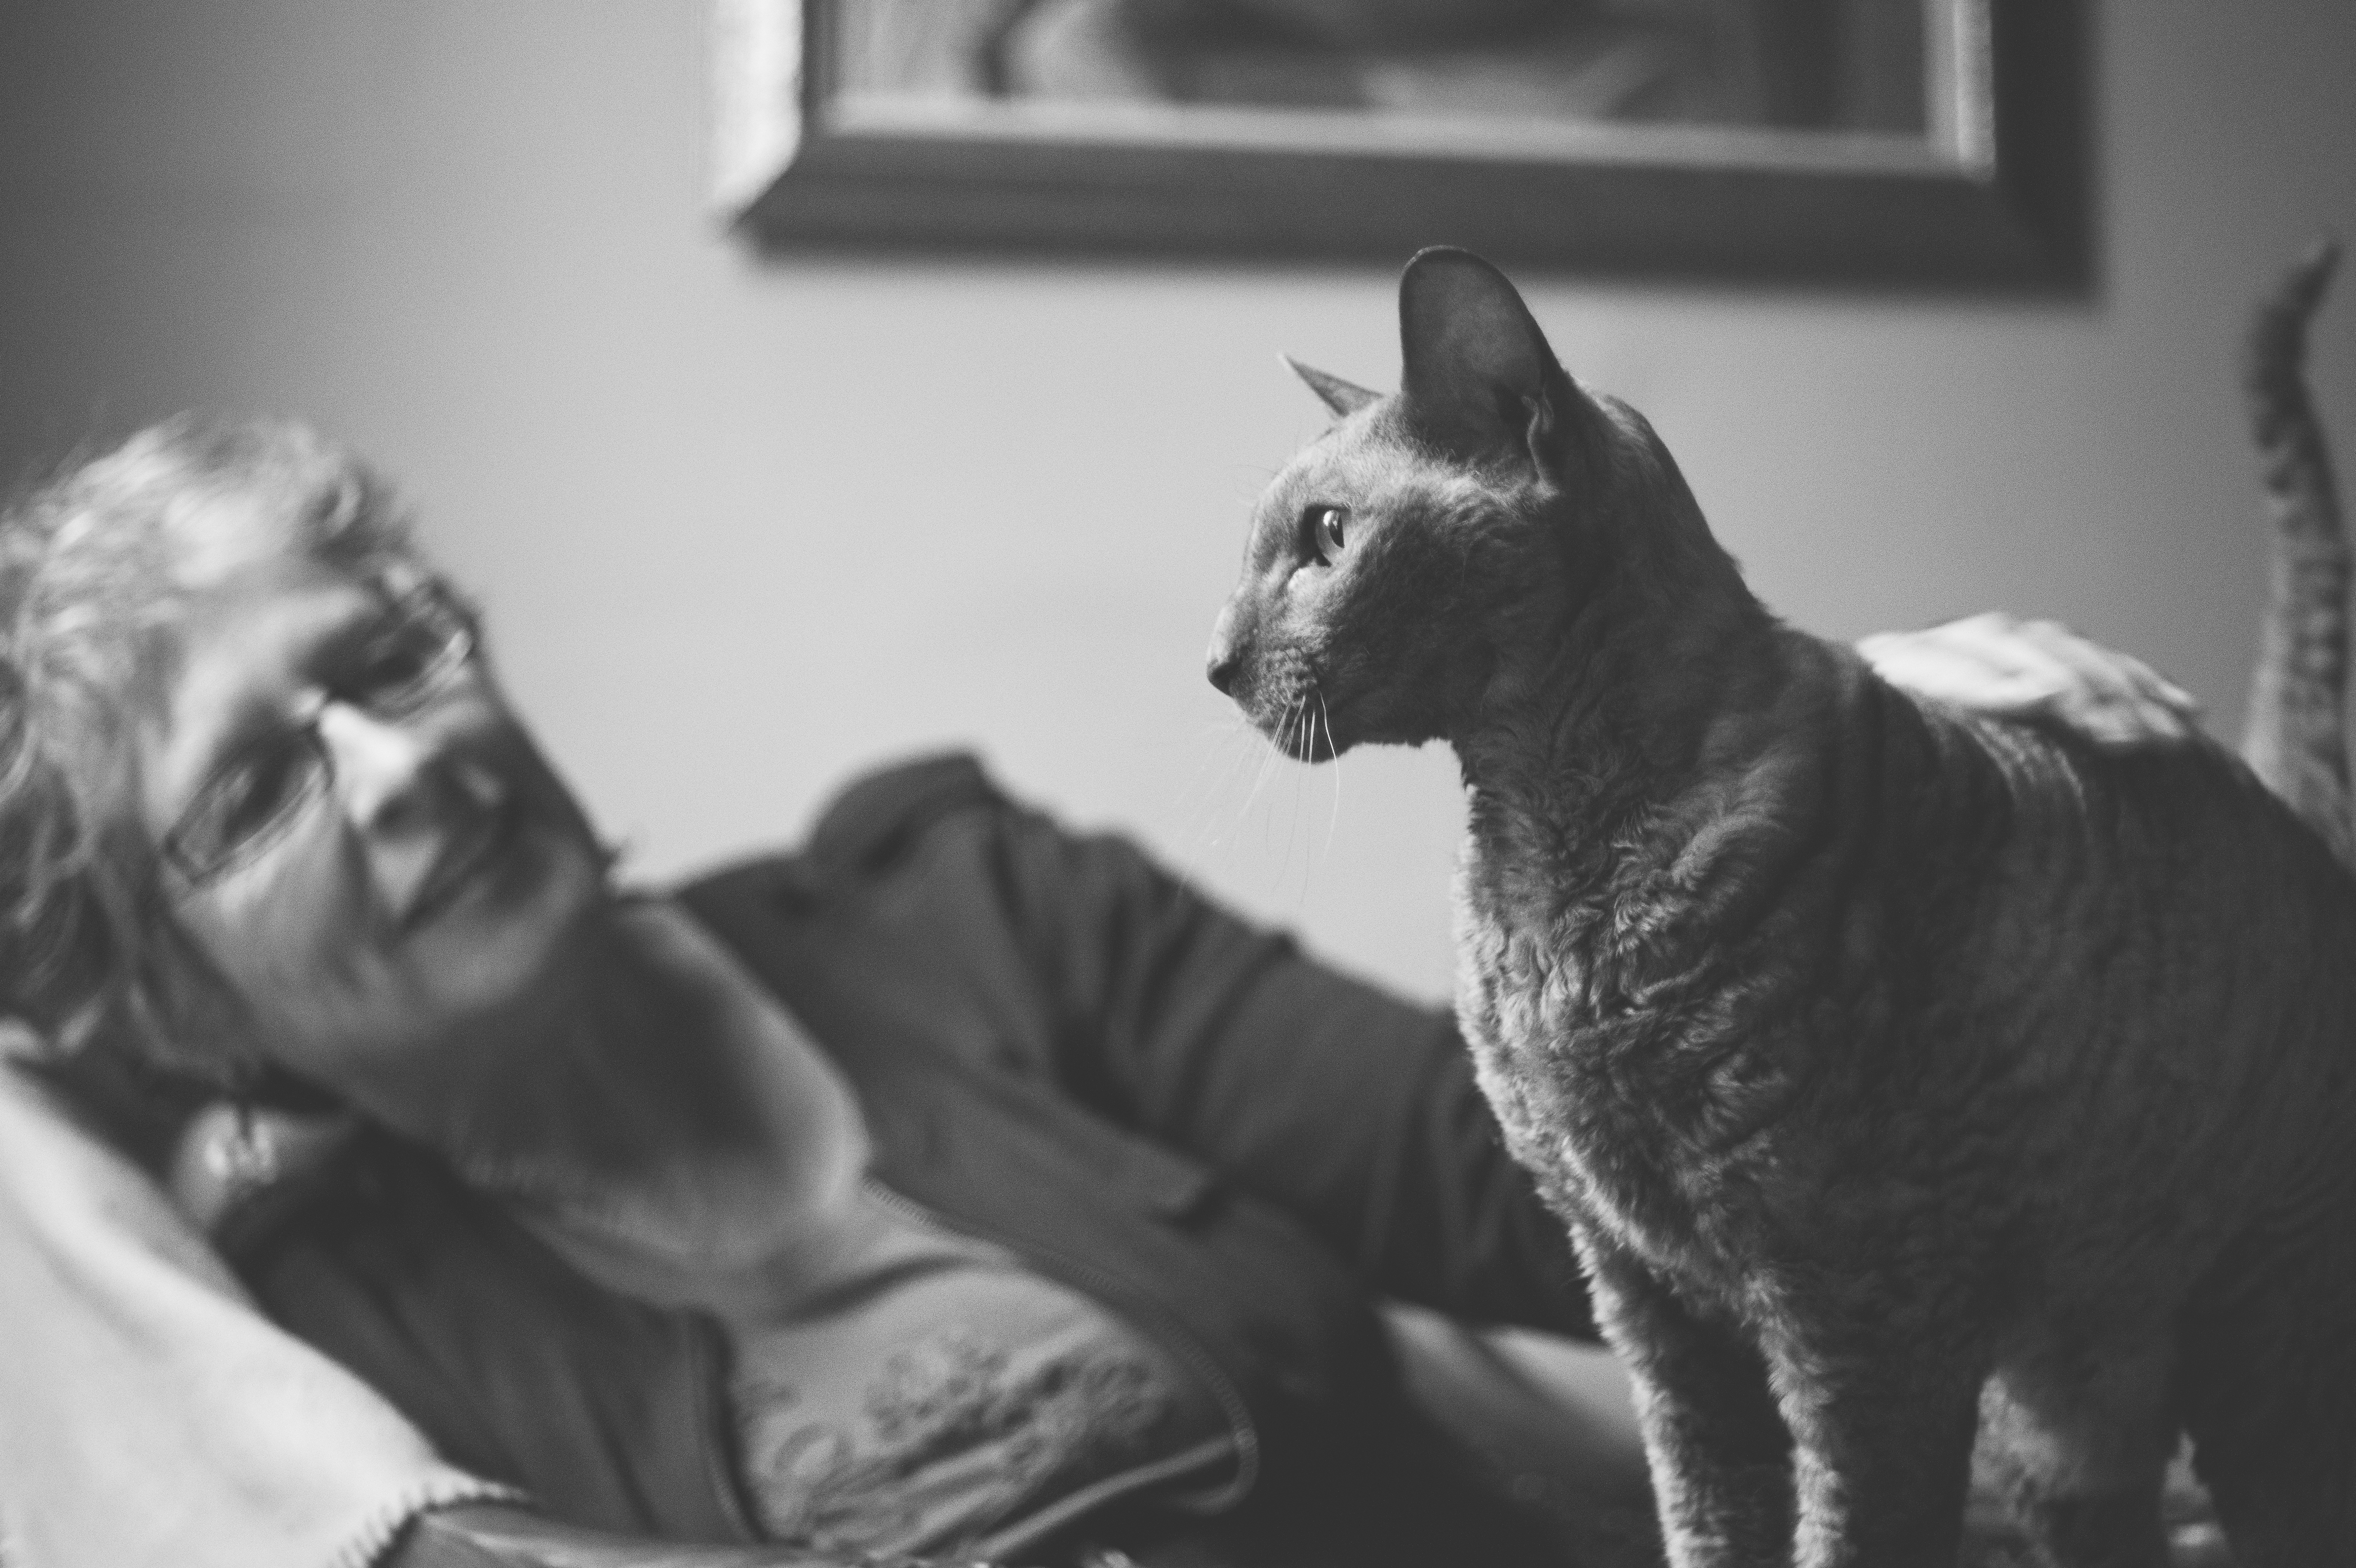
Mum – ISO 1600, f1.8

Henry – ISO 200, f4
UPDATE
Design, DIY, Engineering, Modelling, Photography
Thank you very much for all the comments and interest, its truly amazing to come back from the Bestival weekend music festival with no internet and find all this interest has been created. I thought I might try to clear up some of the questions that have arisen. The camera does in fact work as a classic rangefinder, with the rangefinder patch alining with the overall frame when the image is in focus on the sensor. To calibrate it I first calibrated the lens to infinity, keeping the leaf shutter open and then using the magnified live view on the Sony to focus on a distant object and then adjust the focus ring (without moving the lens) so it was at the infinity point. Then to calibrate the rangefinder I focused a distinct object about 3 metres away using live view and then adjusted the viewfinder so the images of the object were aligned at this point. These processes were just adapted versions of classic film camera calibration (and was actually easier with live view than film).
Secondly some people have been wondering how the camera exposes the shot. It works just as the Konica would have done originally. You set the shutter speed on the lens (which affects the leaf shutter within the lens) the camera then automatically sets the correct aperture using it’s inbuilt light meter. The only difference is that the ISO can be changed on the Sony camera from shot to shot, and you then need to set the correct ISO on the Konica.
People have also seemed confused as to how the cameras work together, it is actually pretty simple but difficult to explain as the words are so similar for both the cameras. The sensor is just working as a replacement for film and the parts that made the Sony it’s own camera, like the shutter and aperture selection, are redundant. When the new 3-D printed shutter release button on the Konica is pressed, the small electronic switch inside it is ‘activated’ before the trigger starts to move down to eventually release the leaf shutter. This is because the electronic switch has a low mechanical resistance compared to the Konica’s shutter. Then as you take your finger off the trigger after the shutter has been released, the electronic switch is ‘deactivated’. The Sony is in the BULB setting and the electronic switch is wired to the Sony so whilst the electronic switch is activated, the sensor is gathering the incident light and forming a photograph from it which is saved to a memory card (If you don’t know what BULB is it means the camera doesn’t have a predetermined shutter speed but will take a photo as long as the shutter is pressed).
The reason I did not use a Full Frame camera, which would use the whole of the lens and give the same Field of View as film, is that the FF cameras are very large at the moment, (although the a7 is better) and too expensive for a little project like this. Incidentally the macro frame lines in the Konica viewfinder almost match the crop sensor FOV anyway. I actually wanted to use a Sony NEX-5N as it has better image quality and a touch screen so no need for buttons, unfortunately Sony has updated the firmware so the 5N so it needs not only the motor and cogs, but also some of the curtain mechanism to work or it shows a camera error screen. On this topic I looked into hacking the NEX and making it not require any of the shutter mechanism. The Sony NEX and Alpha Hack Project (online) seems to be making headway but my lack of programming skills stopped this from going any further, free frankencamera for anyone who can find a solution?.
There has been some negativity as to the point of this project and I completely see your point but this was not about making the ultimate camera, I already have great image quality, autofocus and an EVF on my X-E1, but about trying to do something which was an enjoyable challenge. However I would also like to point out there there are only a handful of digital cameras that will allow you to manually focus through working rangefinder, the most prominent of which are the Leica M8/9, and my project was a fraction of the cost of one of these with a good 50mm lens. I also wasn’t looking to make a commercial product as you need the 3-D printed part, the Konica and the Sony all of which need manual work done to them, which would be too expensive.
Other cameras that I have looked into converting is the Zorki 4, which I got in Russia for a good price. It looks like a Leica M9, has the Leica LTM mount and is surprisingly sturdy with a handy fully removable back (unlike the fiddly Leica M film loading), but best of all it has a 50mm FOV viewfinder even when it has the 35mm Jupiter-12 lens on so it would show you the FOV you would get from the crop sensor. Being a much larger camera it could actually house all the components necessary to make the NEX-5N work so thats another bonus.
I was quite amused to find some people declaring this is a hoax and I’ll take it as a complement, but I can assure that it does indeed work, as I thought the videos would prove, and a some thoughtful person pointed out it took a vast amount of time to make the CAD files especially as I had never used the program before, so rather an unnecessarily complicated hoax.
I was also very amused by the comments about my soldering, I can assure you I am under no delusions about it but I have had no help or guidance so I had to make do.
It has also been brought to my attention that the word frankencamera already refers to a different project and in hindsight I should have googled it, I apologise.
One last point, some people were speculating about my age, I am in fact 18 and about to go to Oxford university to read Physics so no more projects for a while!
Thanks again for all of your support, if you want to contact me directly, you can email me at frankencamera@gmail.com.
Ollie Baker

